Thursday, September 22, 2011

Another gift card holder

A friend is having a baby boy and we gave them a gift card on top of the baby items.  I made another one of these gift card holders I love how this turned out.  I also used it for a challenge for the CC Focus Group were had to make our own embellishment.  I made the rosette on the front and the rest came together easily.

Close up of the Rosette

Inside


Gift card holder closed

Products Used:
MM Pitter Patter Paper
Spellbinders Stars
Spellbinders Scallop Cirlces

Monday, September 19, 2011

New Embellishment Storage

A while ago I saw someone show how they used a curtain rod and drapery clips to create a homemade version of the clip it up.  Recently I went to Ikea and saw this Grundtal rod in the kitchen department.  I got one and bought a spice rack holder and a bunch of the Rajtan spice jars (4 for $4.00).  I haven't filled all the jars yet but I love this.  I need more curtain clips but they work so well for holding up misc embellishments and I can't wait to fill those jars with flowers.


Thursday, September 15, 2011

Pages for a Cause

I made these pages for a girl on crop chocolate who put out a request to help make two albums for two young boys who were in the process of losing their father.  She wanted to put together albums for them with pictures of them and their father.  I kept them simple and non themed, but left room for a title if she wanted to put one over the stars.   The story broke my heart and my prayers go out to the family during this difficult time.

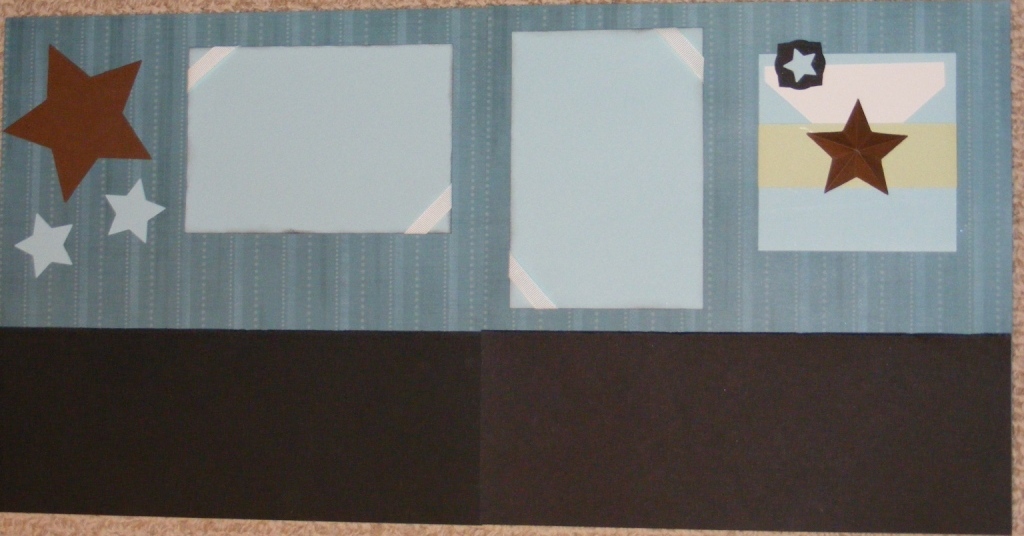
There is room for 6-4x6 photo's if she chooses, since she is putting together two albums I wanted to make it flexible for her and even she doesn't know what the photos will be.  You can't see it in the picture but I distressed the top edge of the black at the bottom.  


Here is a close up of the journaling pocket, this way she can put as much or as little as she needs
Products Used:
Spellbinders Stars
Spellbinders Labels 3
CTMH Paper

Sunday, September 11, 2011

Crop Chocolate - September Project 3D Stars

For my September project for crop chocolate we had to use this sketch made by D2


This is what I came up with 


I did a tutorial on how to make the stars, I love using them on my sons's album since flowers seem to be out for some reason :)

Instructions for stars
1. Cut out a 5 point star 
2. Score each point in the middle (5 times)
3. Crease each score line with a bone folder
4. Fold the star along the score lines (this will help shape the star)
5. Unfold the star and shape as necessary
6. Put a foam dot in the middle of the star (on the bottom) and place a thin line of glue along the edge of the entire star. The foam dot will help the star keep its shape. 


Here is the Video


Attention Sweetpea1077, can you please contact me about your blog candy?  I will draw a new winner on September 14th, if I don't hear from you.


Products used:
MM Pitter Patter Paper
Spellbinders Starts

Tuesday, September 6, 2011

Blog Candy Winner-sweetpea1077

I used Random.org to chose the winner and the lucky number was 19.  Congrats to sweetpea1077, please send me an email at xxxxx@xxxxx with your mailing information and I will send you your blog candy.  Thanks to everyone who entered, I will have some more again so check back later.